
The VOEZ Song Editor is a chart creation program for the rhythm game VOEZ. Any custom songs you create with the program can then be exported and modded to be playable in both the Nintendo Switch and Android versions of the game.
You can see some of the cool stuff that people have created with this editor in the video gallery below:
-
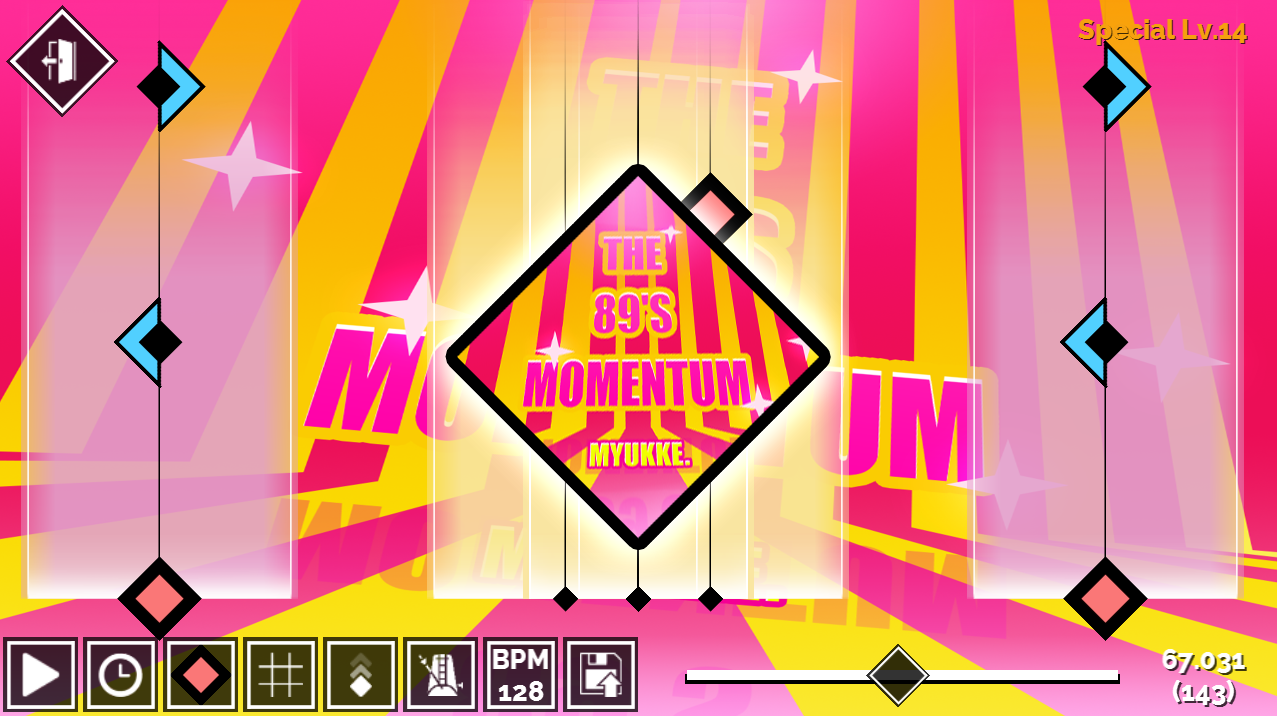 Chart: sit
Song: The 89's Momentum (MYUKKE.) -
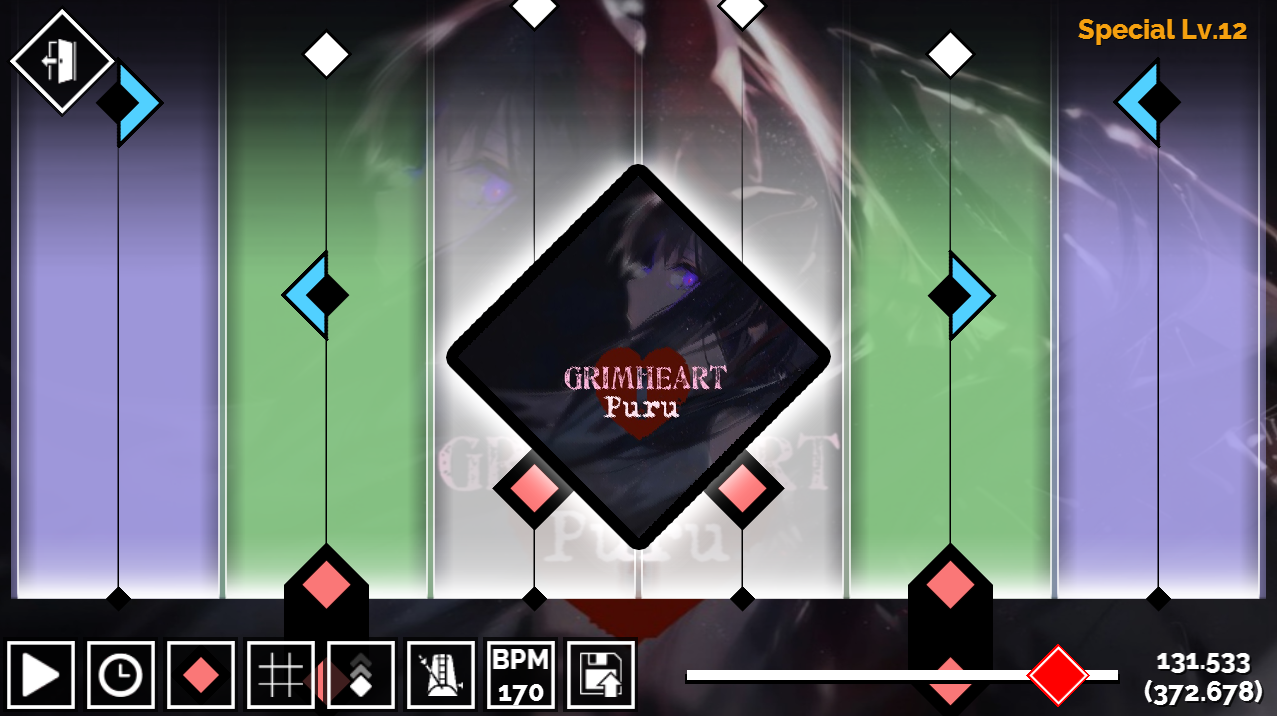 Chart: Mee? Nah
Song: Grimheart (Puru) -
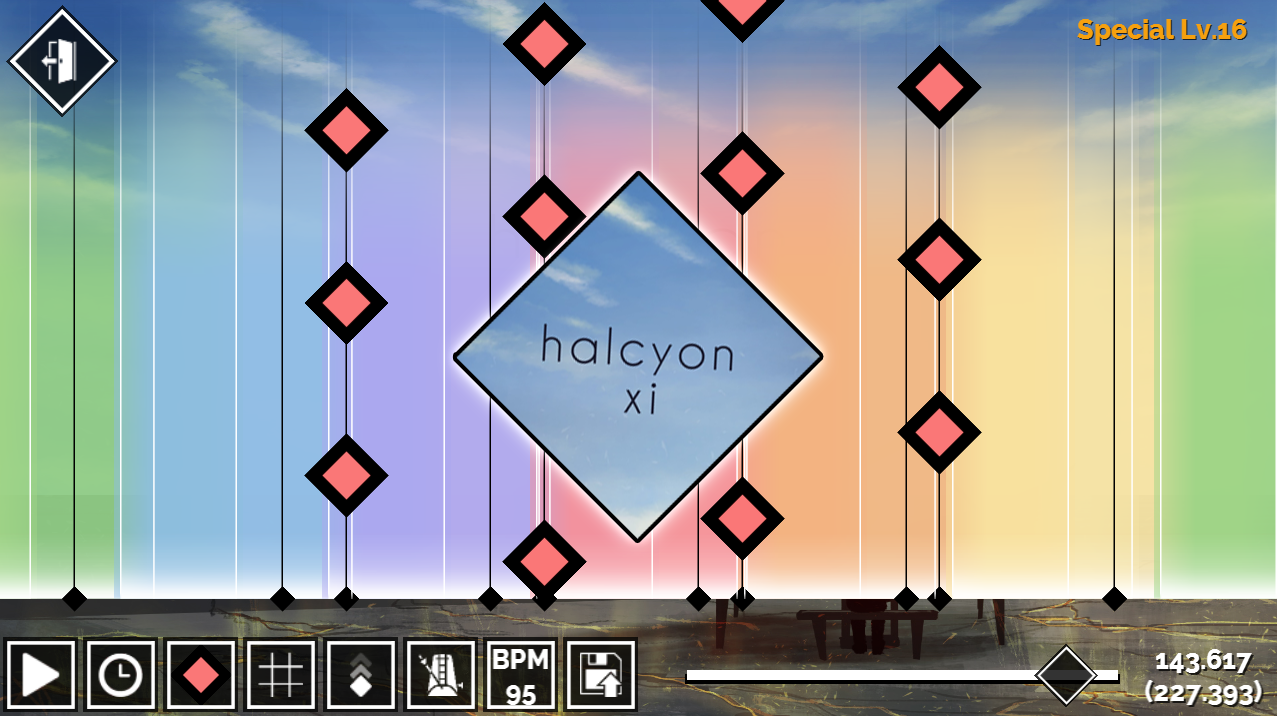 Chart: .png
Song: halcyon (xi) -
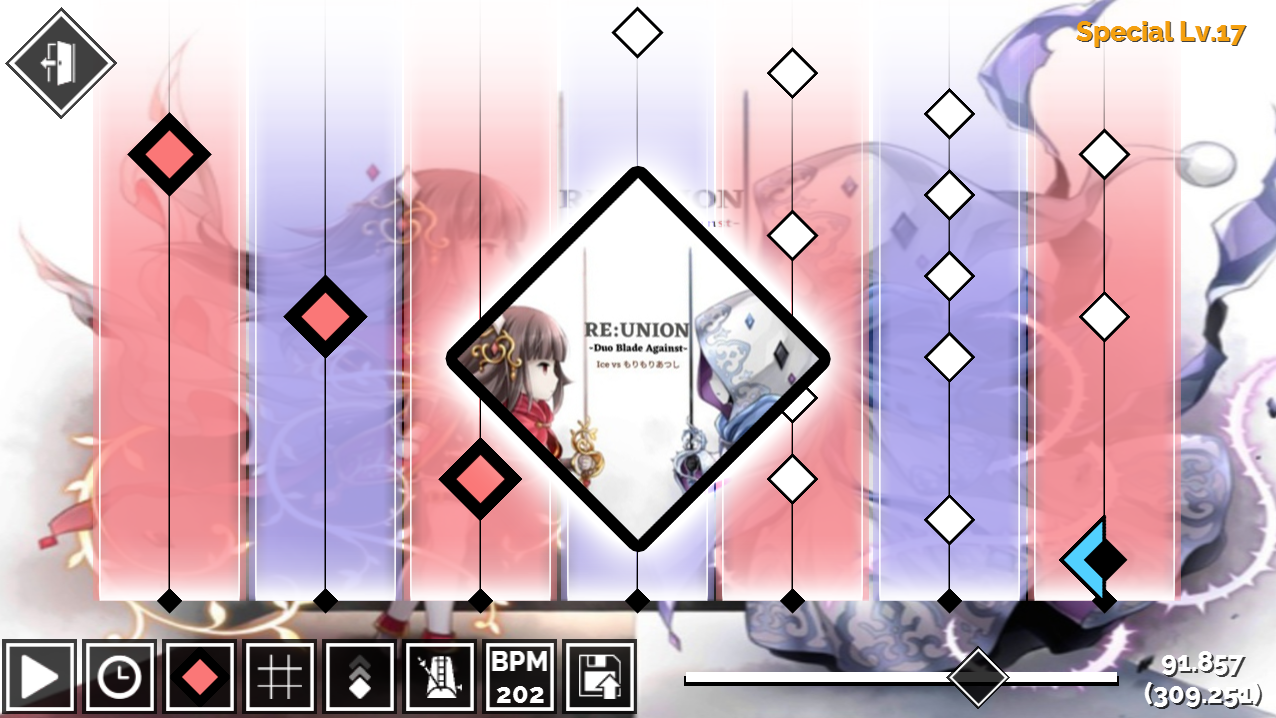 Chart: Mee? Nah
Song: RE:UNION -Duo Blade Against- (Ice vs. モリモリあつし) -
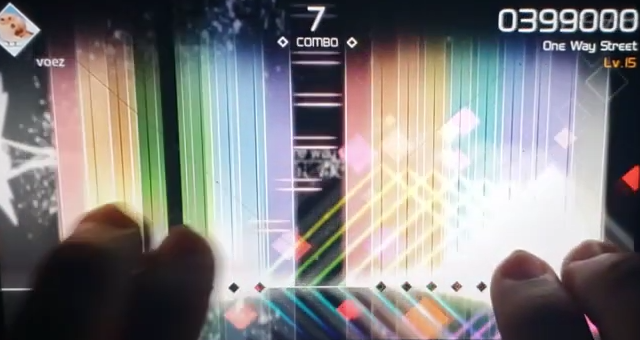 Chart: .png
Song: One Way Street (Siqlo) -
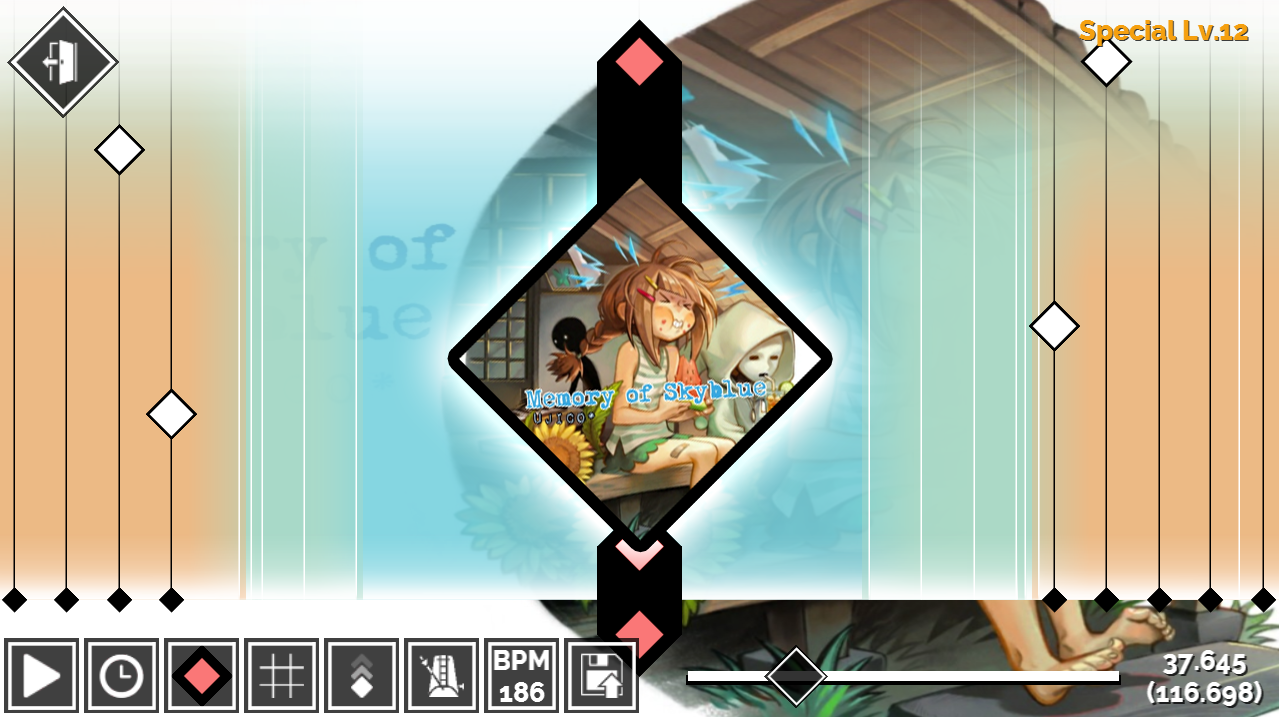 Chart: Mee? Nah
Song: Memory of Skyblue (Ujico*) -
 Chart: lixteR
Song: Sakura Fubuki (Street) -
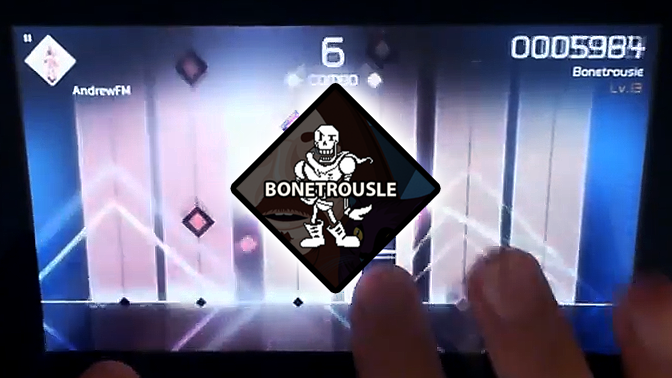 Chart: AndrewFM
Song: Bonetrousle (Smooth McGroove & Voia) -
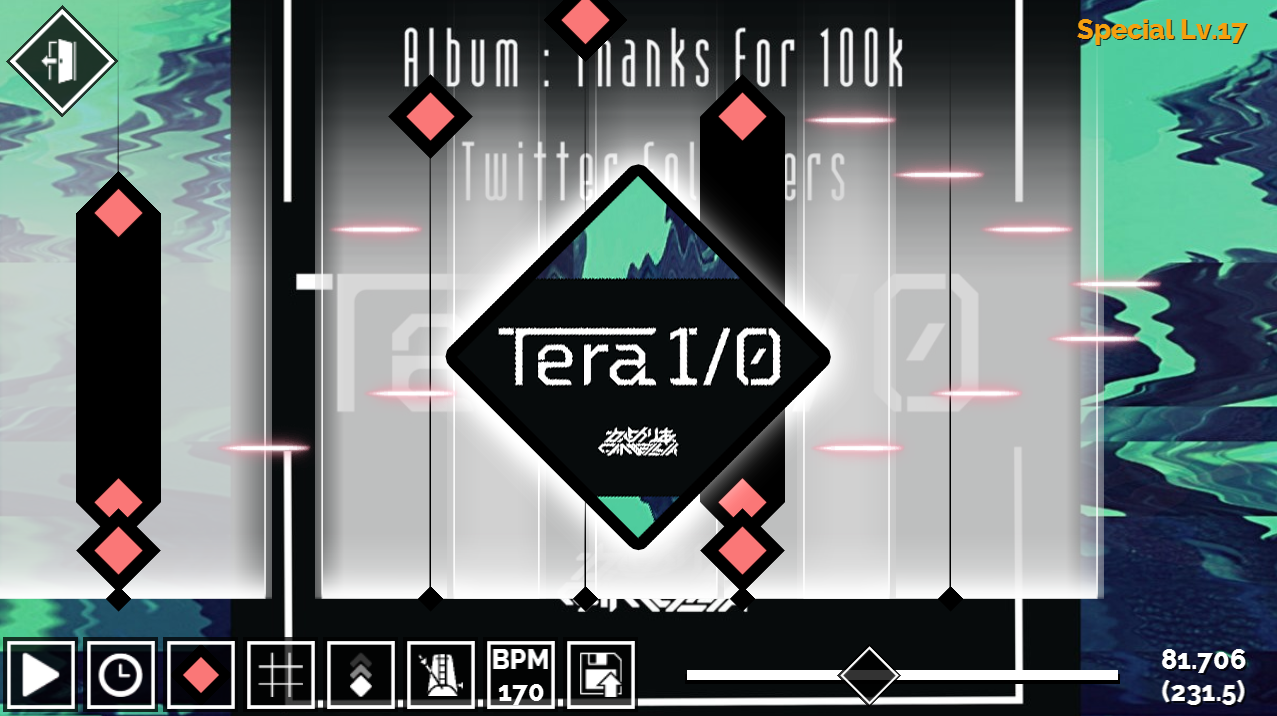 Chart: lixteR
Song: Body F10ating in the Zero Gravity Space (Camellia) -
 Chart: lixteR
Song: ray (roop loves THB) -
 Chart: sit
Song: Alexandrite (WAiKURO) -
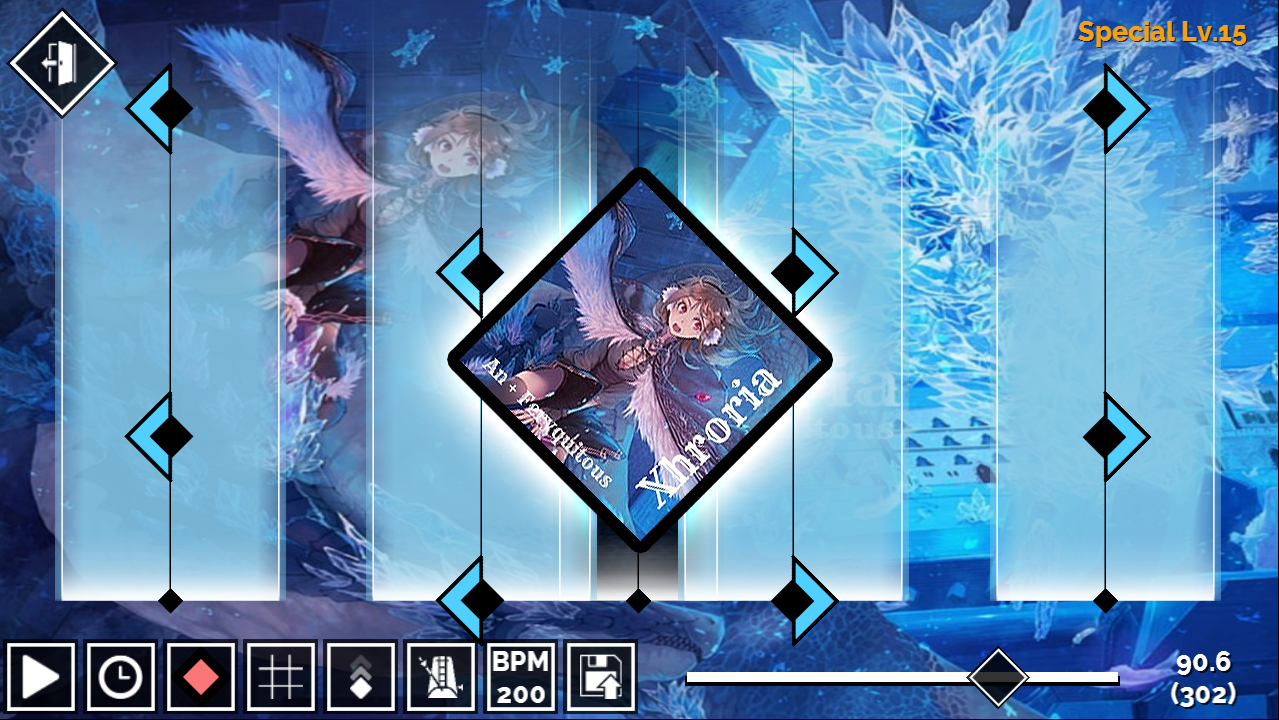 Chart: Mee? Nah
Song: Xhroria (An + Feryquitous) -
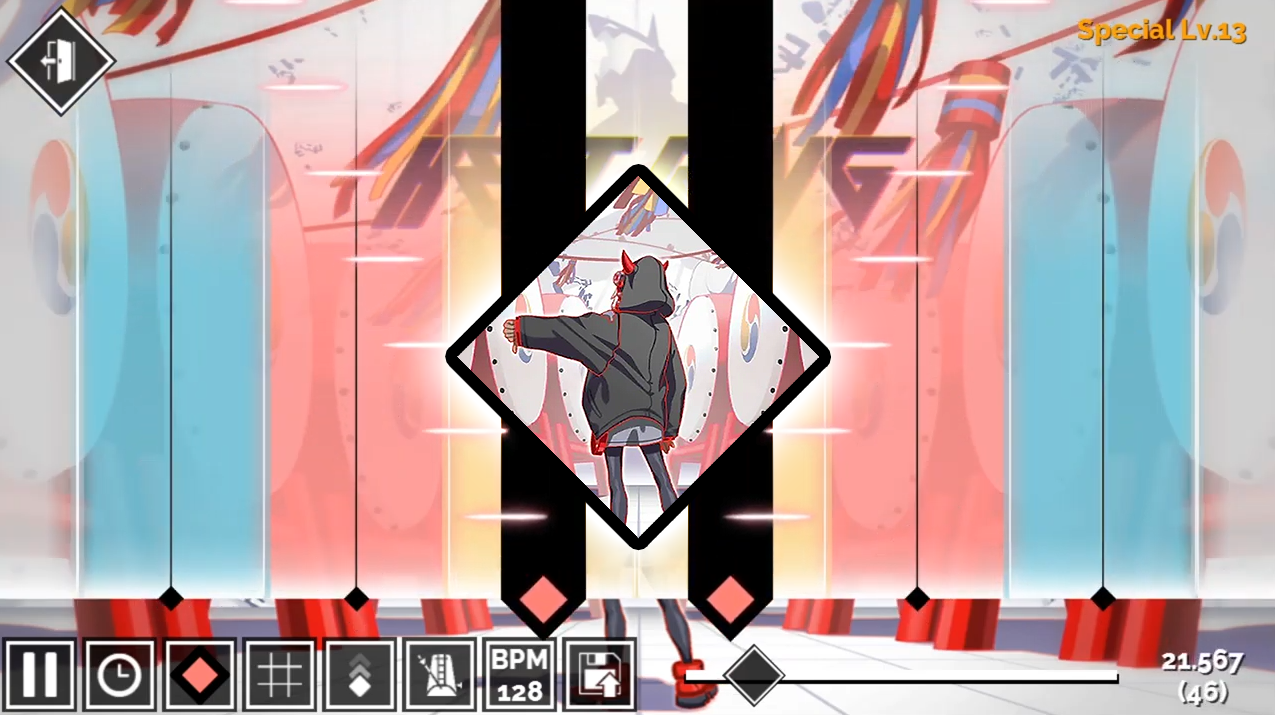 Chart: Mee? Nah
Song: Heat Ring (James Landino) -
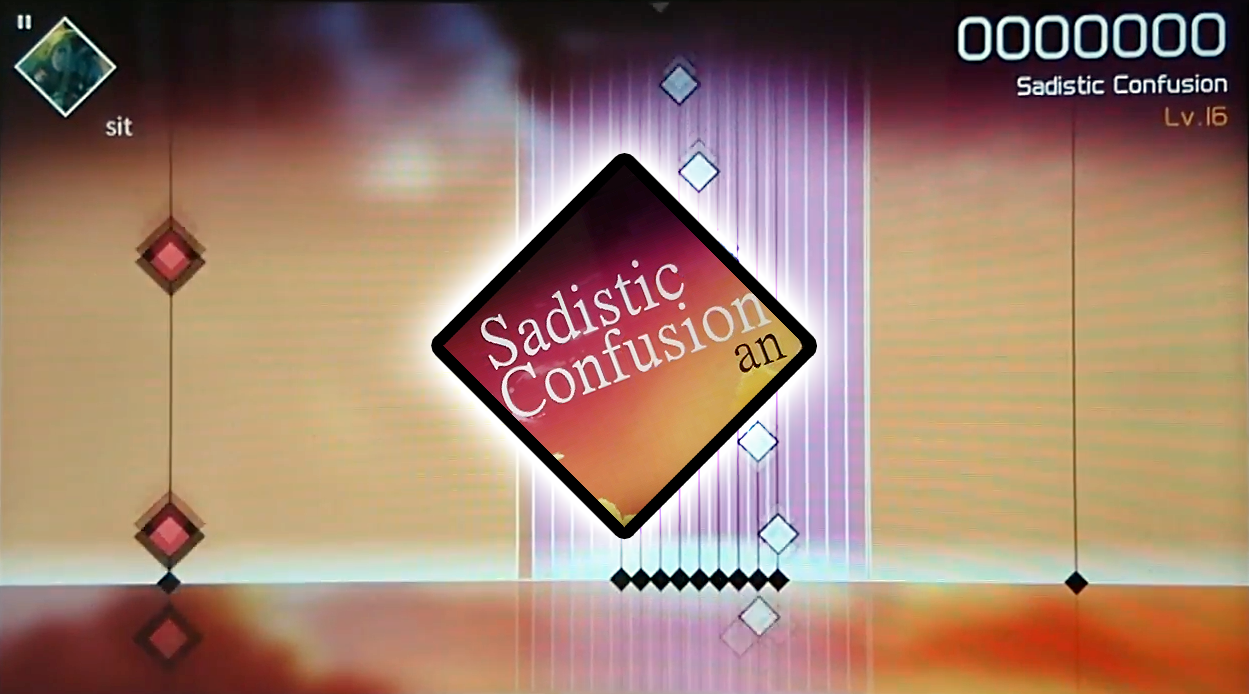 Chart: sit
Song: Sadistic Confusion (An) -
 Chart: Mee? Nah
Song: Bring the Light (Night Keepers) -
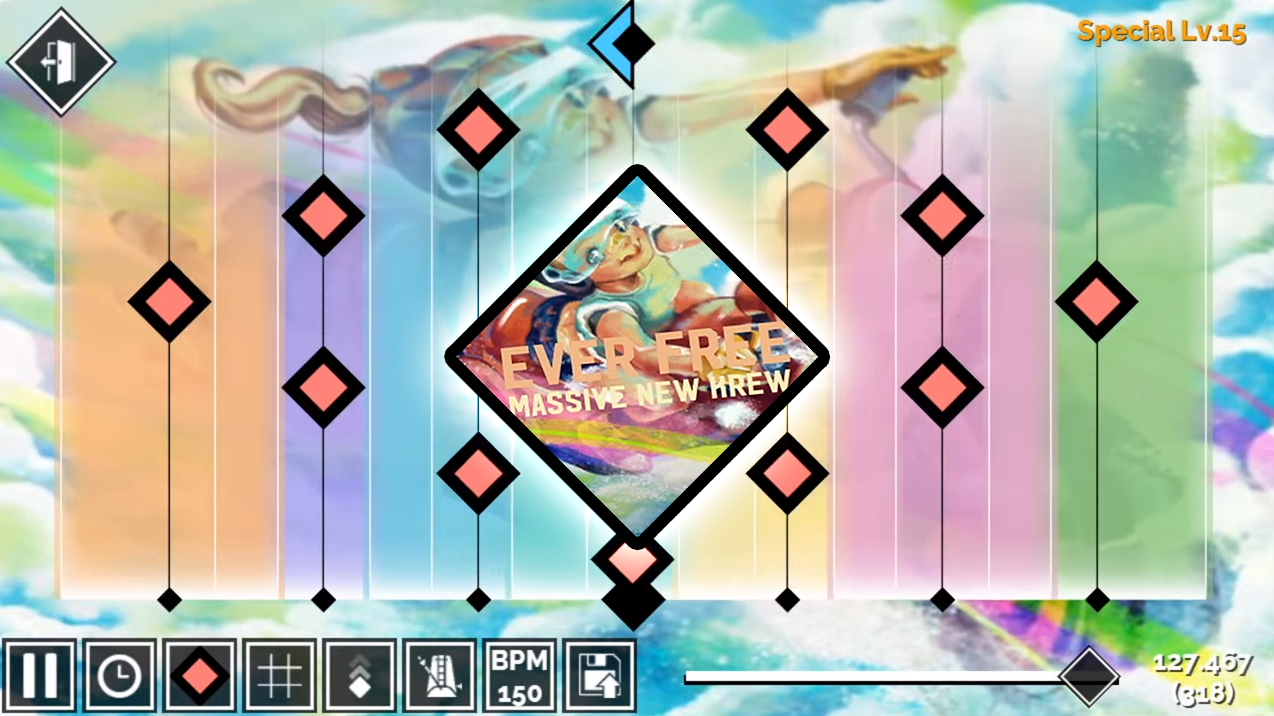 Chart: Mee? Nah
Song: Ever Free (Massive New Krew) -
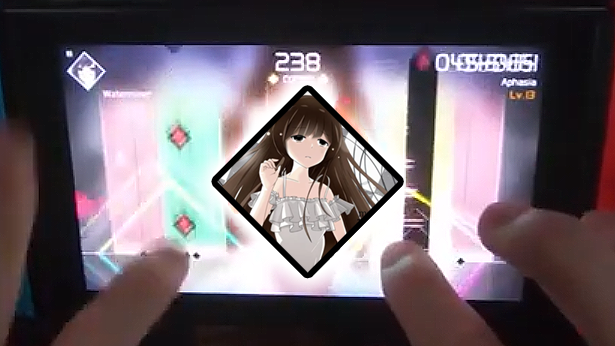 Chart: 注水的矿工
Song: Aphasia (闫东炜) -
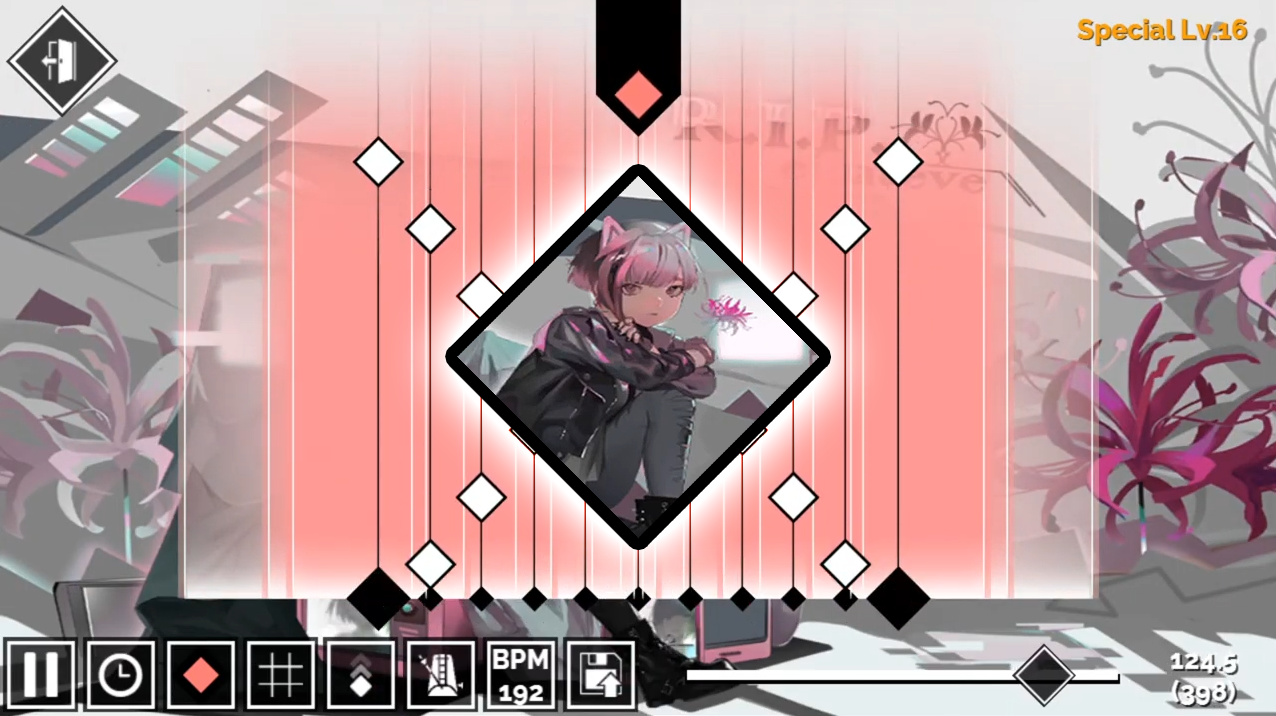 Chart: Mee? Nah
Song: R.I.P. (eicateve) -
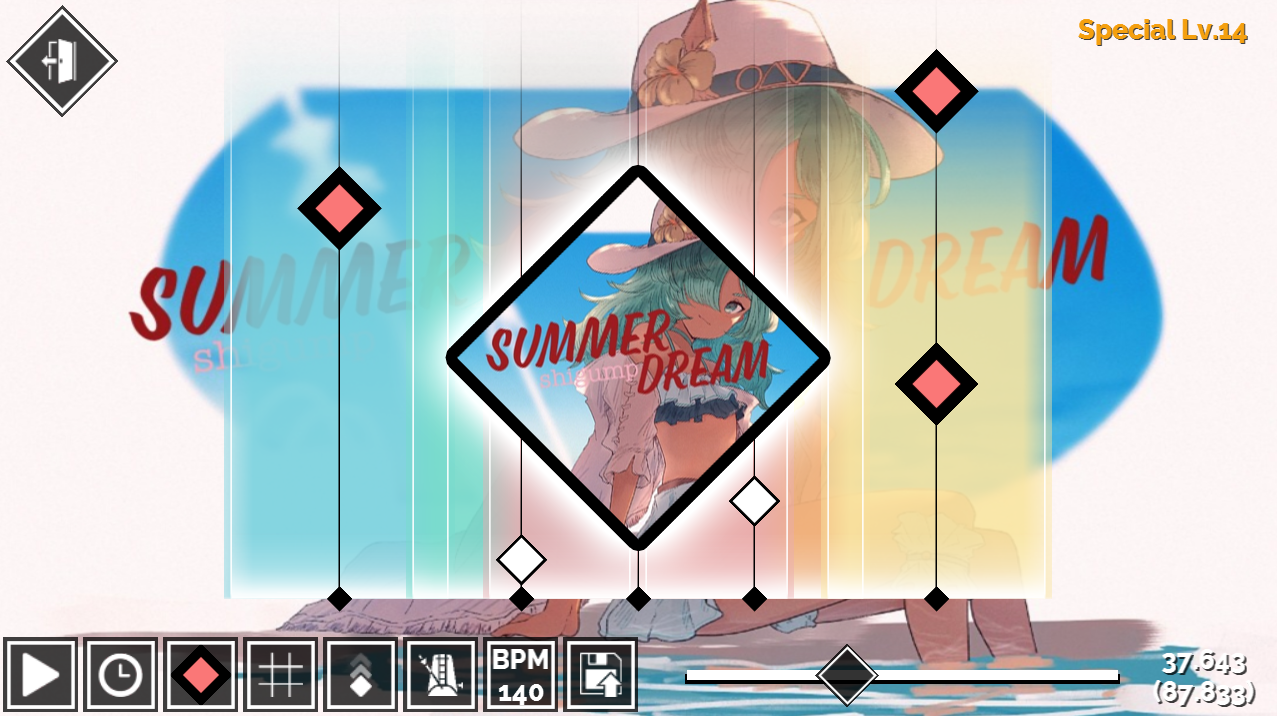 Chart: Mee? Nah
Song: Summer Dream (shigump) -
 Chart: Mee? Nah
Song: Lucky (Lucy, too) -
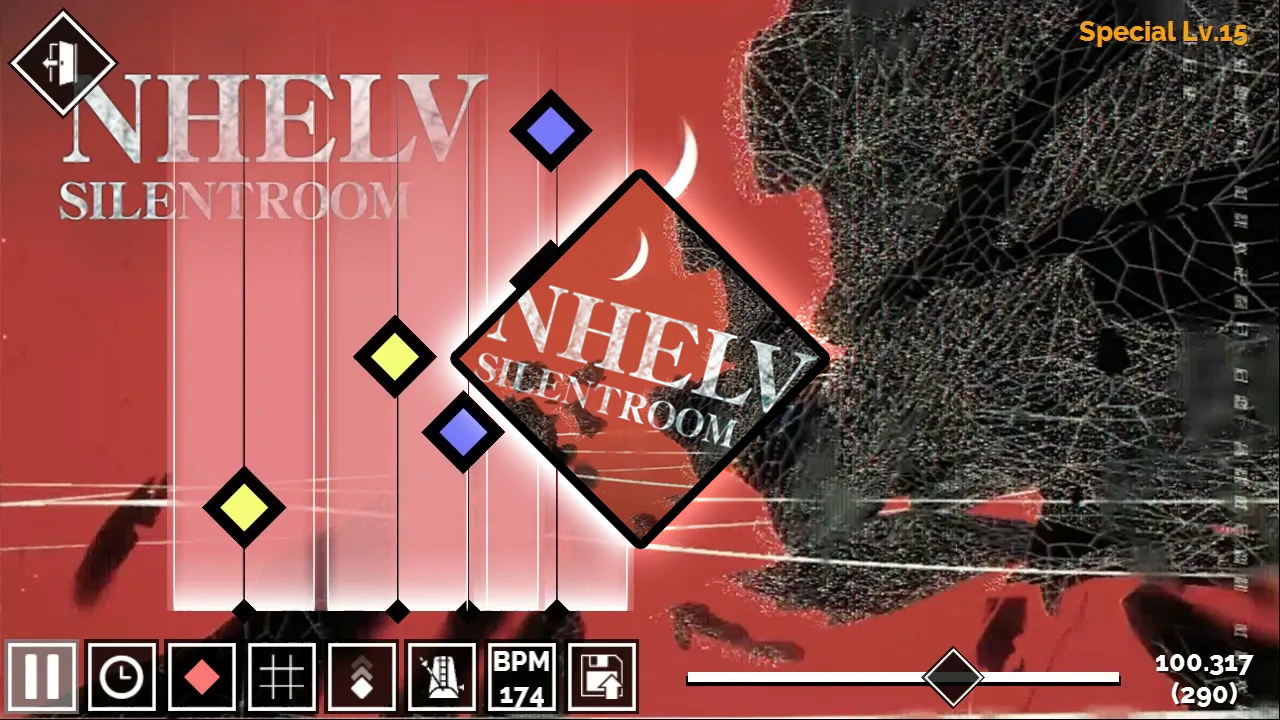 Chart: sit
Song: Nhelv (Silentroom) -
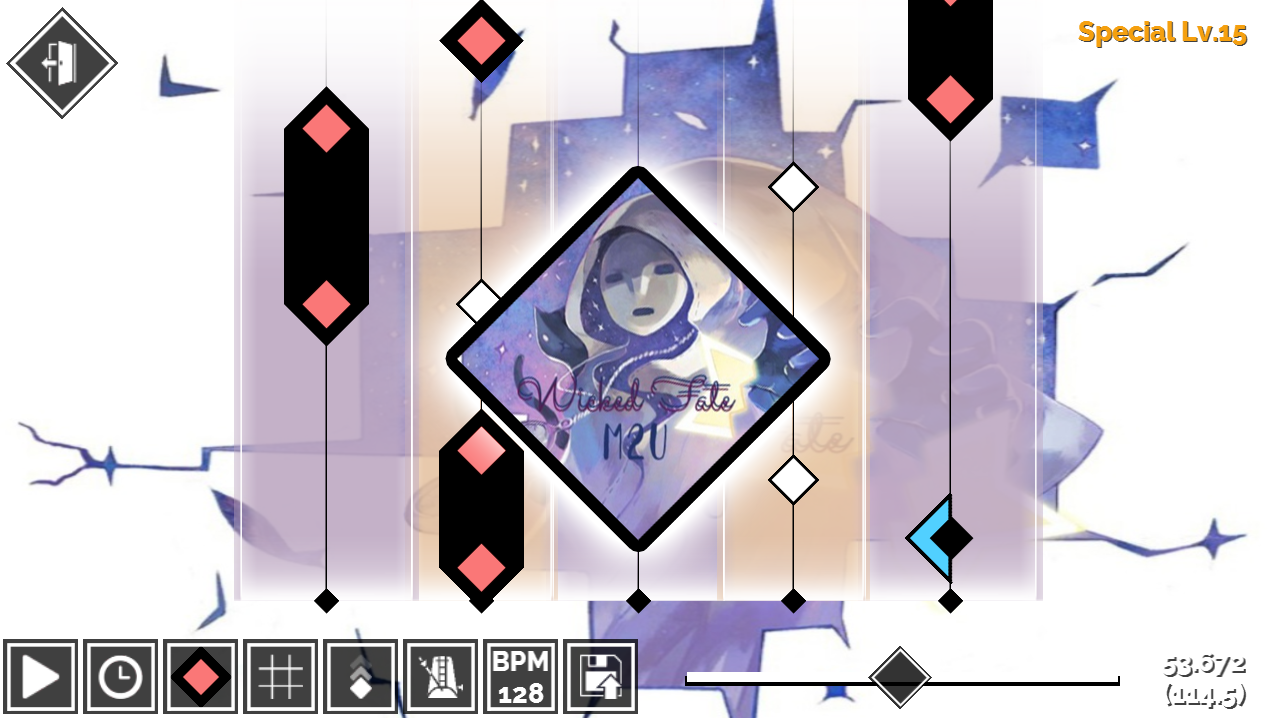 Chart: Mee? Nah
Song: Wicked Fate (M2U) -
 Chart: lixteR
Song: Flower, snow and Drum'n'bass (kanone feat. Sennzai)
How to Use
Contents
Starting a new Project
In order to start a new project, start by navigating into the ActiveProject folder, and then creating a new subdirectory in there for your song. At minimum you need to place the following file into the folder:- The audio file for the song. This should be a .wav or an .ogg file whose name starts with "song_".
Optionally, you can also add any of the following into your subdirectory:
- A background image for the song. This should be a .png file whose name starts with "image_", and it should be 1024x1024 pixels large.
- A thumbnail image for the song. This should be a .png file whose name starts with "image_thumbnail", and it should be 256x256 pixels large.
- A preview track for the song. This should be a .wav or an .ogg file whose name starts with "song_pv", and it should be 20 seconds long.
Note that the length of your "song_" audio file will be the length of your project's song. If you want your song to be shortened, you need to edit the file with an audio editor.
Boot up the program and you should see the song you added in the list of projects. Each project is three beatmaps in one... one for Easy difficulty, one for Hard, and one for Special. Select your song, then select the difficulty that you'd like to start building, and hit 'Edit' to enter the main editor interface.
.
General Interface and Tools

From left to right, the tools are:
- Play/Pause: Resume or pause playback of the song. While the song is paused, the interface enters edit mode. While the song is playing, edit mode is disabled.
- Keyboard Shortcut: Spacebar
- Playback Time: Change the playback speed of the song to make it slower/faster. Useful for calibration and tweaks.
- Keyboard Shortcuts:
- 1 Key - 0.25x Playback Speed
- 2 Key - 0.5x Playback Speed
- 3 Key - 1.0x Playback Speed
- 4 Key - 2.0x Playback Speed
- Editing Mode: Change which type of note is currently being placed, or change between note editing mode and track editing mode.
- Keyboard Shortcuts:
- Z Key - Place Click Notes
- X Key - Place Slide Notes
- C Key - Place Swipe Notes
- V Key - Enter Track Editing Mode
- Grid Snapping: Change the grid snapping/time signature used in edit mode. This controls the increments at which notes are placed, and the increments at which
the tracks are scrolled. Anything time related in the interface and edit mode is snapped to this grid.
- Keyboard Shortcuts:
- Shift + 1 Key: Turn off the Grid
- Shift + 2 Key: 16 Beats per Measure
- Shift + 3 Key: 12 Beats Per Measure
- Shift + 4 Key: 8 Beats Per Measure
- Shift + 5 Key: 6 Beats Per Measure
- Shift + 6 Key: 4 Beats Per Measure
- Shift + 7 Key: 3 Beats Per Measure
- Shift + 8 Key: 2 Beats Per Measure
- Shift + 9 Key: 1 Beat Per Measure
- Scroll Speed: Change the speed at which the notes scroll down along the tracks. This is a visual change only, it does not affect the timings of the song at all.
- Audio Assistance: Provides a few audio guide tools:
- Metronome: When this is enabled, a click will be heard every time one beat elapses.
- Hit Sounds: When this is enabled, a sound will play whenever a note on a track intersects with the play line.
- Note Quantization: Colors the click notes different colors depending if they fall on-beat, on half-beat, on quarter-beat, etc.
- Beats Per Minute: Adjusts the BPM value for the song. If this value is not correct, then the time signature grid (and thus, the notes you place) will be out of sync with the beats in the song. Calibrating this value is the very first thing you should do before starting creating a beatmap for your song. Performing this calibration is explained in the next section.
- Save: Saves all of your edits to disk. Note that this will overwrite your previous save files every time. If you want to keep periodic backups, you'll need to manually backup the ActiveProjects folder from time to time.
- Scrubber: This bar shows the current playback progress through the song, and allows you to navigate to any time in the song by clicking and dragging the scrubber.
- Loop Point: You can right-click the scrubber to set a loop point at its current location. Once the loop point is placed, the scrubber can be jumped back to that position at any point by pressing the Enter key, or by pressing the Middle Mouse Button, or by right-clicking the Play button.
- While the song is paused, you can use the Arrow Keys/WASD keys, or the Scroll Wheel on the mouse to frame advance/rewind the scrubber. Hold down the Shift key to advance the time at a faster rate.
- Timer: The current song time. The number on top is the time in seconds, the number on bottom in parentheses is the cumulative beat count.
Setting the BPM
Click on the BPM button to enable BPM editing mode. While active you can use the Scroll Wheel on the mouse, or the Arrow Keys/WASD Keys to edit the value of the BPM. Hold down the Shift key to scroll the value at a faster pace. (This is the standard control scheme for editing any numeric values in the editor)While BPM editing mode is enabled, if you start playing the song, the screen will pulse at the current BPM rate that you have set. Adjust the BPM value until the pulsing rate is perfectly in sync with the music. The playback speed options and the metronome can be helpful with this calibration.
When done, click the BPM button again to exit BPM editing mode.
.
Track Editing Mode
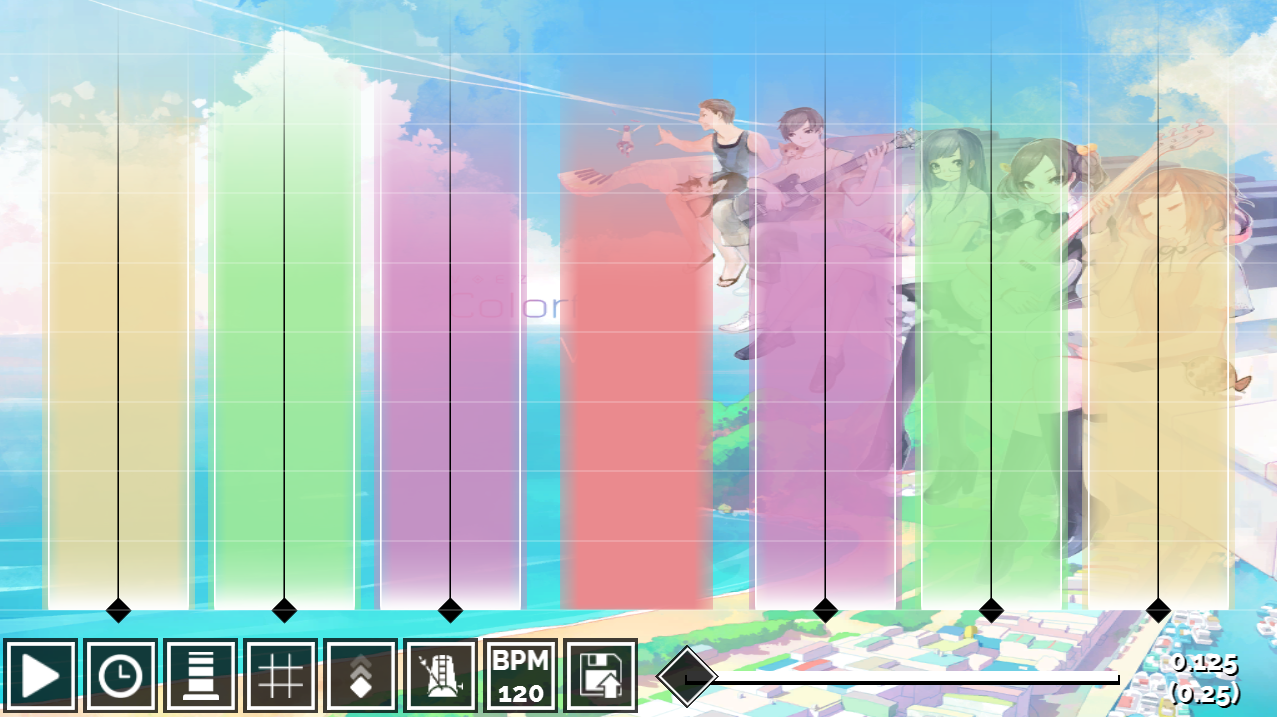
Track Editing mode allows for the adding, deleting, and editing of tracks, which are the vertical columns that notes scroll over.
- To add a new track, hold down the Left Mouse Button while also keeping the Shift key held down through the whole process. A pending track will appear over the mouse's position (in the screenshot above, the red track in the middle is the pending track, while the others are actual tracks that had previously been added). Drag the pending track to the position you want it to be located at, then let go of the left mouse button to finalize its position and add the actual track.
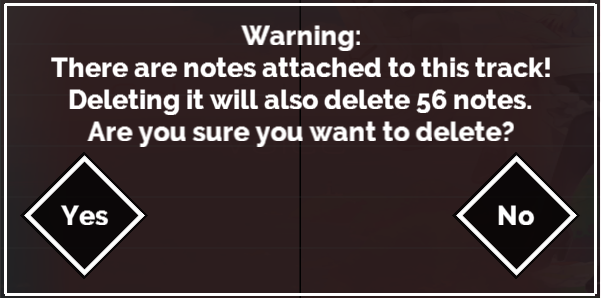
- To delete a track, press the Delete button while hovering over a track, or right click on a track while also holding down the shift key. If you try to delete a track that currently has notes at it, the warning below will be displayed. Be very careful as the editor does NOT have an undo feature. Anything you delete cannot be recovered.
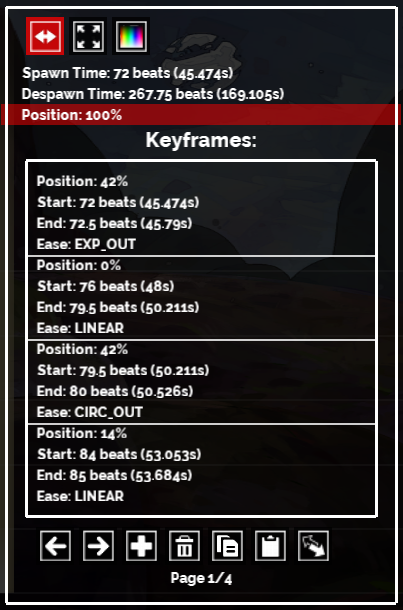 The track window is divided up into three different tabs, each of which looks and behaves the same. These tabs are switched between using the three buttons at the top left of the window. Each tab is used to modify a different attribute about the track... from left to right, they are Position, Scale, and Color.
Use the left mouse button on the different fields in the window to select them from editing. Each tab has three main values:
- Spawn Time: The time at which the track will first spawn.
- Despawn Time: The time at which the track will disappear.
- Value: The base value the track will have when it is first spawned, for the current tab:
- Position: A value between 0% and 100%, where 0% is the far left side of the screen, and 100% is the far right side of the screen. Note that when editing postion values, you can hold the Right Mouse Button to snap the track to the mouse cursor and drag and drop it to the desired position, instead of trying to set the numerical value manually.
- Scale: The width of the track. 2.0x will be double the typical width, 0.5x will be half, etc. Note that when editing scale values, you can hold the Right Mouse Button to drag the track to the desired width, instead of trying to set the numerical value manually.
- Color: The color of the track. VOEZ has 10 different base colors to choose between.
All three of these value types can be animated over time. This is the purpose of the Keyframes section of this editing window. Each keyframe defines a new value to animate towards, the time the animation should start, the time the animation should end, and the transition style between the two values. Note that the value in a keyframe is the value the track will be at once it reaches the End time of the keyframe.
The buttons at the bottom of the window are used for working with the keyframes. From left to right, they are:
- Previous Page: Navigation for when you have multiple pages worth of keyframes.
- Next Page: Navigation for when you have multiple pages worth of keyframes.
- Add: Adds a new keyframe. By default it will add a new keyframe after the currently selected keyframe. You can hold the Shift key to instead add the new keyframe before the currently selected keyframe. Note that keyframe times cannot overlap, and they cannot exceed the spawn/despawn bounds of the track. The window will not allow you to add a keyframe if there is no empty time gap in the spot you're trying to add it, so adjust the start/end times of the keyframes to make room for a new one if you run into this problem.
- Delete: Deletes the selected keyframe.
- Copy: Copies ALL keyframes in this tab to the program's clipboard.
- Paste: Pastes the list of copied keyframes. This will not append the keyframes to the list, it will overwrite the whole list with the pasted contents. Also note that each tab has its own clipboard, so if for example, you copy keyframes from the Position tab, you can only paste in into another Position tab.
- Mirror: This button only exists for the Positions tab. Clicking it will mirror the track's position and mirror all of its keyframes' positions so the track is on the opposite side of the screen. You can use this option to help make symmetric animations. If you hold the Shift key, then only the selected keyframe will be mirrored, rather than all the keyframes.
.
Note Editing Mode
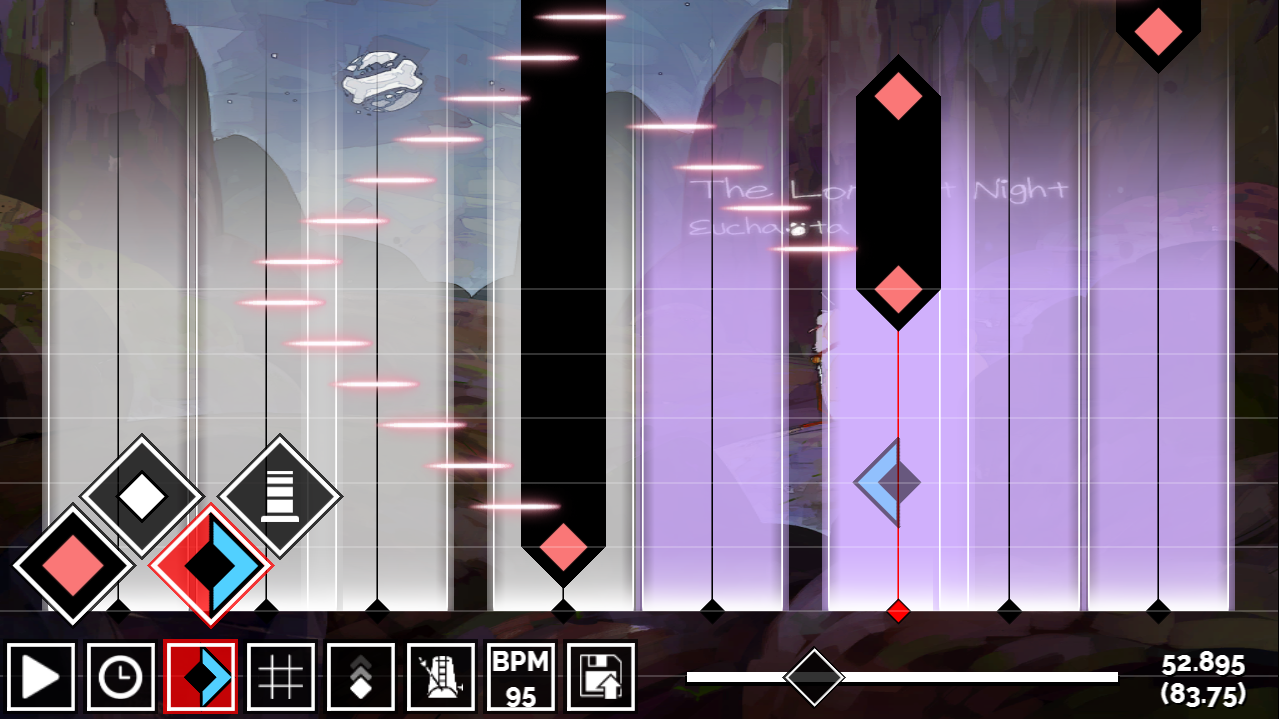
Set the Editing Mode selection to any of the other options other than track, to enter note editing mode. This mode allows for the adding, deleting, and editing of notes onto any of the tracks you've placed down.
- To add a new note, hover you mouse over any of the tracks, and a ghost image of the note will appear. Left Click to place the note down.
- To delete a note, press the Delete button while hovering over a note, or Right Click on the note.
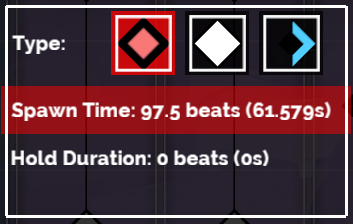
The three buttons on the top will change which type of note this is. The value fields below will change attributes about the note:
- Spawn Time: The time in the song when this note needs to be tapped/swiped by the player.
- Hold Duration: Only available for click notes. If this is set to a value other than 0, then the click note becomes a hold note. If you want to make a hold note that moves around, you need to keyframe the track's position. See the previous section on track editing above.
- Direction: Only available for swipe notes. Lets you select whether it should be swiped to the left, or swiped to the right.
Editing Song Info
After saving your song at least once, navigate back to your project's subdirectory on your harddrive, and there will be a new file called "info_song.json". Open this file up in a text editor to edit the information about your song:{ "info":{ "version":"1.04", "name":"The Song Name", "author":"The Author", "bpm":155, } ,"level":{ "easy":1, "hard":1, "extra":1 } }
- version: This is the version of the editor your song was last edited with. Don't modify the value of this.
- name: The title of the song. Make sure the name is between double quotes, as shown.
- author: The author of the song. Make sure the name is between double quotes, as shown.
- bpm: The BPM value of your song. Best to use the in-editor tools to properly calibrate this value.
- easy: The level of the song on Easy mode. Set this to any whole number greater than zero.
- hard: The level of the song on Hard mode. Set this to any whole number greater than zero.
- extra: The level of the song on Special mode. Set this to any whole number greater than zero.
Exporting to Android
In order to play your modded songs on Android, you must install VOEZ Remaster onto your device, which is a modded APK of VOEZ that is setup to be able to load project files off of your device's SD card.Once you've downloaded and installed the APK, you will find another folder called "voezfanmade" packaged with the download. Place that folder into the top directory of your device's SD card. Inside the voezfanmade folder, you'll find another folder called "fanmadeSongs", which is where you'll be placing all of your custom songs made with the editor. For each of your projects, create a folder inside "fanmadeSongs" to contain the files for that project, and name it whatever you want. However, the folder name should only contain letters and numbers, should be all lowercase, with no spaces and no special characters. Also you'll be using this folder name below, so take note of it.
Populate this new project folder with your project files. It should contain all of the following files, named and formatted exactly as described:
- image_regular.png: A 1024x1024 background image for your song.
- image_blur.png: The same image as above, resized to 256x256, and blurred.
- image_thumbnail.png: A 256x256 image used for the icon thumbnail in the song select menu.
- song_full.mp3: The full music track for your song.
- song_pv.mp3: A preview music track for your song, exactly 20 seconds long, for use in the song select menu.
- note_easy.json: Notes definitions for your song, exported by VOEZ Song Editor. For Easy mode.
- note_hard.json: Notes definitions for your song, exported by VOEZ Song Editor. For Hard mode.
- note_extra.json: Notes definitions for your song, exported by VOEZ Song Editor. For Special mode.
- track_easy.json: Tracks definitions for your song, exported by VOEZ Song Editor. For Easy mode.
- track_hard.json: Tracks definitions for your song, exported by VOEZ Song Editor. For Hard mode.
- track_extra.json: Tracks definitions for your song, exported by VOEZ Song Editor. For Special mode.
Additionally, in your project folder, you should create one more text file called "songconfig.txt". This is just another file with equivalent information as the "info_song.json" file, but just formatted differently. Example contents of this text file are below; just modify it with the relevant contents for your song:
id=583d38a5c5effc000d2365fc
name=Ascension to Heaven
bpm=200
author=xi
diff=6-11-16
version=Switch
- id: This should be set to the same name as the name of the project's folder.
- diff: These are the numbers for the three difficulty levels, Easy, Hard, Special, separated by dashes.
- version: This is the name for the in-game folder that your song will be categorized under. Typically in-game, the songs are grouped by the VOEZ version number they were released under. You can set this to whatever you want to create your own song groupings for your custom songs.
.
Exporting to Nintendo Switch: What you will need
- Unity 5.5.0p1
- A Hex Editor
- A Nintendo Switch with a CFW running LayeredFS
- VOEZ for the Nintendo Switch (obviously)
- Your project files outputted by VOEZ Song Editor
Setting up the Asset Bundler
Create a new 2D Unity project. In the Project window, add the following three folders to your project's Assets:- assetbundle
- AssetBundles
- Editor
using UnityEditor;

public class CreateAssetBundles {
    [MenuItem("Assets/Build AssetBundles")]
    static void BuildAllAssetBundles()
    {
        BuildPipeline.BuildAssetBundles("Assets/AssetBundles", BuildAssetBundleOptions.UncompressedAssetBundle, BuildTarget.StandaloneWindows);
    }
}
Inside the assetbundle folder, create another folder called songs.
That's it. This is a one-time setup, and you can reuse this Unity Project from now on for exporting any future tracks that you create.
.
Bundling a Track Mod
Create a new folder for your song inside of the assetbundle/songs folder. The name of this folder can be anything, though keep it all lowercase, no spaces, no special characters, just letters and numbers. Remember the name of the folder because you will need to reuse it several times later.Populate this new folder with your project files. It should contain all of the following files, named and formatted exactly as described:
- image_regular.png: A 1024x1024 background image for your song.
- image_blur.png: The same image as above, resized to 256x256, and blurred.
- image_thumbnail.png: A 256x256 image used for the icon thumbnail in the song select menu.
- song_full.mp3: The full music track for your song.
- song_pv.mp3: A preview music track for your song, exactly 20 seconds long, for use in the song select menu.
- note_easy.json: Notes definitions for your song, exported by VOEZ Song Editor. For Easy mode.
- note_hard.json: Notes definitions for your song, exported by VOEZ Song Editor. For Hard mode.
- note_extra.json: Notes definitions for your song, exported by VOEZ Song Editor. For Special mode.
- track_easy.json: Tracks definitions for your song, exported by VOEZ Song Editor. For Easy mode.
- track_hard.json: Tracks definitions for your song, exported by VOEZ Song Editor. For Hard mode.
- track_extra.json: Tracks definitions for your song, exported by VOEZ Song Editor. For Special mode.
For the image_blur file, change the import settings in the Inspector to match the following (otherwise the blurred image will look pixelated in-game):
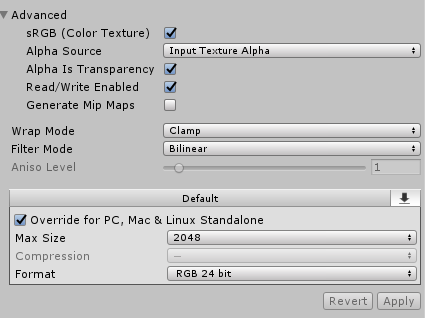
For all other files, the import settings can be left as the defaults.
Once all of the project files are there, select all of them in the Project window, and at the bottom of the Inspector, you will see a dropdown called "AssetBundle". From that dropdown box, select New..., then name the new AssetBundle songs/XXXX, where XXXX is the same name as the folder you created for your project files.
Once everything is done succesfully, your setup should be looking something like this:

From the menu options at the top of the Unity Window, select "Assets > Build AssetBundles". Once this process finishes running, the bundle for your project files will be available in the AssetBundles/songs folder. The bundle file is the one that's named the same as the project folder you created. It won't have any file extension, so rename it to add the extention ".assetbundle" onto the file. Then open the file up in your hex editor:
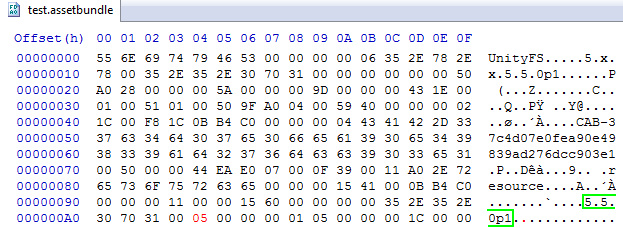
You want to look for the part of the file that has the second occurance of the unity version number (5.5.0p1, highlighted in green in the image above), and find the value located two bytes after the version number (0x05, highlighted in red in the image above). Change that value from 05 to 26. Then save the file.
All done. Your project is bundled and ready to be put onto the Nintendo Switch.
.
Deploying the Track Mod
In your titles folder for LayeredFS on the microSD card for your Switch, create the following directory structure:0100A7F002830000/romfs/Data/StreamingAssets/songs2.0
The 2.0 at the end of the folder name denotes the version number that your songs will be categorized under if you sort by version in the game's song menu. It helps to have all your custom songs in their own category so you can find them easily. You can change that number to something else, but just don't use one of the actual version numbers from the original game, otherwise you'll overwrite the entire song list for that version.
Inside that songs folder, place the .assetbundle file you bundled for your project. Additionally, in that folder you need to have a song_asset_list.json file. That is a listing of all the songs that will be listed under that version category. Click here to download an example song_asset_list.json file to use as your base.
Open the song_asset_list.json file in a text editor, and add your new song as an entry in the list. The song_asset_list.json file downloaded above has two placeholder entries in it, just to illustrate the format and structure of the file. You should remove/replace those with your song(s). Your entry should look like:
{
  "info": {
    "author": "Song Author",
    "bpm": 120,
    "id": "XXXX",
    "name": "Song Name"
  },
  "level": {
    "hard": 7,
    "easy": 1,
    "extra": 10
  }
}
The values to put here can be taken from the info.json file outputted by VOEZ Song Editor for your project. The only additional piece of information is the "id" field, which should be set to have the same name as your assetbundle.
That's it. Now start-up/restart VOEZ on your Switch with LayeredFS, and you should find your song in the songs list.
Tip: Install ftpd on your Switch, and use a FTP client like WinSCP or Filezilla on your computer. With those, you can transfer files to the MicroSD card on your Switch over Wi-Fi, instead of having to turn off the console and eject the card every time you want to add/modify the files.